I've slowly been chipping away at the time-consuming project that is grouting the slate in the kitchen. It's quite an ordeal, but I've finally got the process memorized and streamlined. Here's what I've been doing:
1. Use a sponge and a bucket of water to clean off the slate to be grouted.
2. Empty the bucket of its now-dirty water, refill it, and repeat step 1.
3. Repeat step 2.
4. Wait 15 minutes or so for the slate to dry.
5. Apply a coat of sealer.
6. Wait 15 minutes or so for slate to absorb the sealer.
7. Apply another coat of sealer.
8. Wait 30 minutes or so for slate to absorb the sealer.
9. Mix grout.
10. Use a grout float to scoop a tiny bit of grout out of the bucket.
11. Using the grout float, squish the grout into the grout joints a few inches at a time.
12. After grouting about 4 slates' worth of grout joints, stop to clean grout off of slate surface.
13. Fill a 5-gallon bucket with water, use a sponge to clean off excess grout, rinsing the sponge every minute or so.
14. Empty the bucket of its now-dirty water, rinse the sponge out, and refill the bucket.
15. Sponge off slate two or three more times to ensure removal of grout "haze".
16. Repeat steps 10-15 until knee- and back-ache become debilitating.
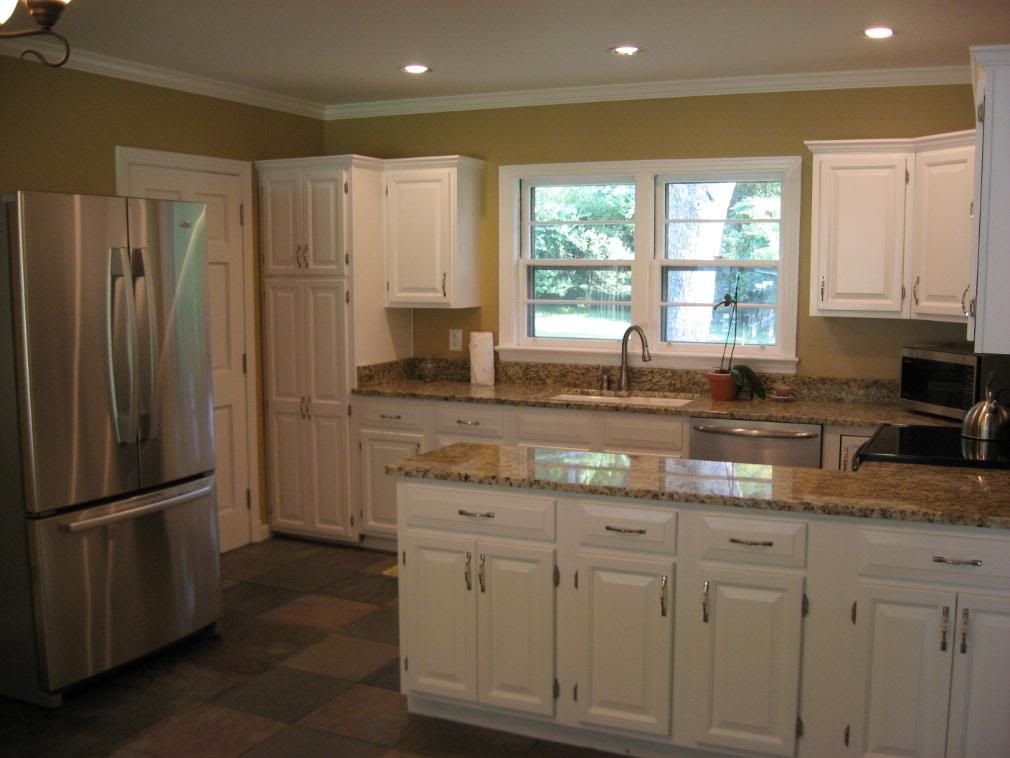
It's painstaking, but it's working well, and I'm probably about 75% done. I've done a little illustration to show some of what I've grouted so far. The green lines in the picture represent grout lines that are done (the lines hidden on the left continue all the way to the door and into that corner):

(And of course there's the part under the stove and dishwasher that I did a few weeks ago.)
After it's all grouted, I'll wipe it down a couple more times, apply one more coat of sealer, then apply a final coat of "Stone Enhancer/Sealer". We'll see how that holds up; I may end up sealing it again a few weeks after that.
Not a whole lot more has been going on lately. After the floor is done, I'll move onto projects like installing quarter-round, cleaning/organizing the garage, and installing thresholds for the two kitchen doorways.