Friday, December 4, 2009

Bathroom: Nearly Complete

Shame on me! I've neglected to update the blog at the most inexplicably inopportune time. The last post was quite the cliffhanger, and for no good reason (if there's a reason at all, it's certainly laziness), I just haven't followed up on it. I offer my profound apology.

Nevertheless, it is true that the bathroom is nearly complete! The tub was delivered a week later than we'd first expected, but it turned out beautifully. We were very happy with the job done; it looks great.

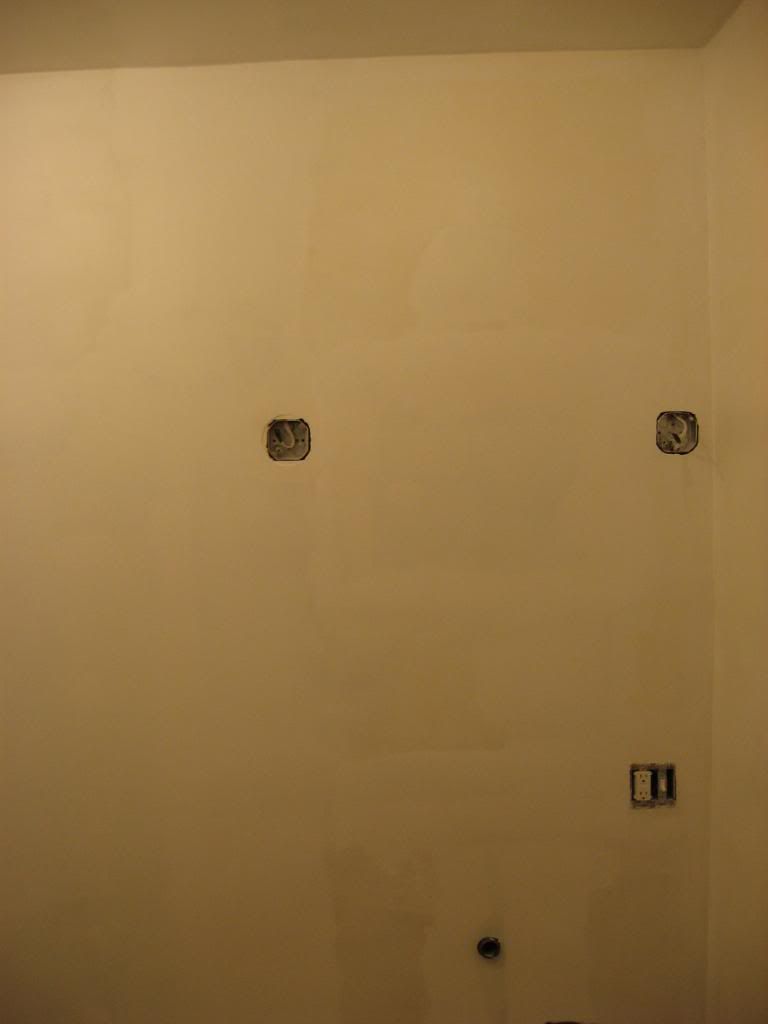
Before


After :-)

It was a pain to get the drain and water lines connected for the tub; I made several trips to varying stores to get all the parts and several arduous hours hunched underneath the house doing plumbing work for which I'm still not quite qualified. But it finally got done and, after redoing a few leaky connections a few days later, everything seems to be in working order. At the very least, I can happily say we've done the whole thing without having to hire a plumber, which certainly saved us a good deal of money.


I installed the sink and faucet with little problem, and the tile guys came back to install the mosaic backsplash. I think Jessica's choice of mirror and backsplash was bang on. We're both very pleased with the way it turned out.
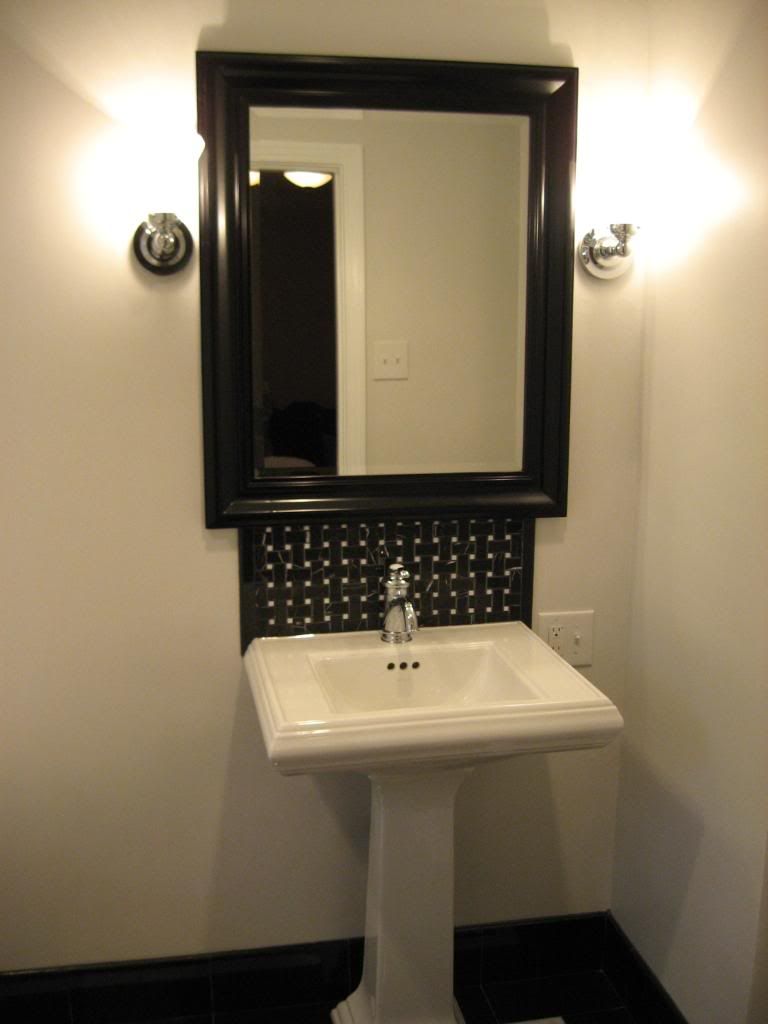


Only several relatively minor things remain to be done: installing bars for towel, hand towel, and toilet paper; picking out and ordering a new floor register; and procuring stuff (framed black-and-white photographs, I'm told) to hang on the conspicuously blank walls.

It took a lot longer than even I thought it would, but this bathroom renovation is practically done, and we're rather proud. And in fact, this, in a way, brings the whole house renovation to a sort of conclusion. It definitely brings about a certain aura of completion to everything. I do realize, of course, that there will always be something to work on. The past couple of days, in fact, I've been building a dog house (more accurately, "a small barn") for Jessica's Great (in size only, mind you ;-)) Dane.

Monday, November 2, 2009

Delay

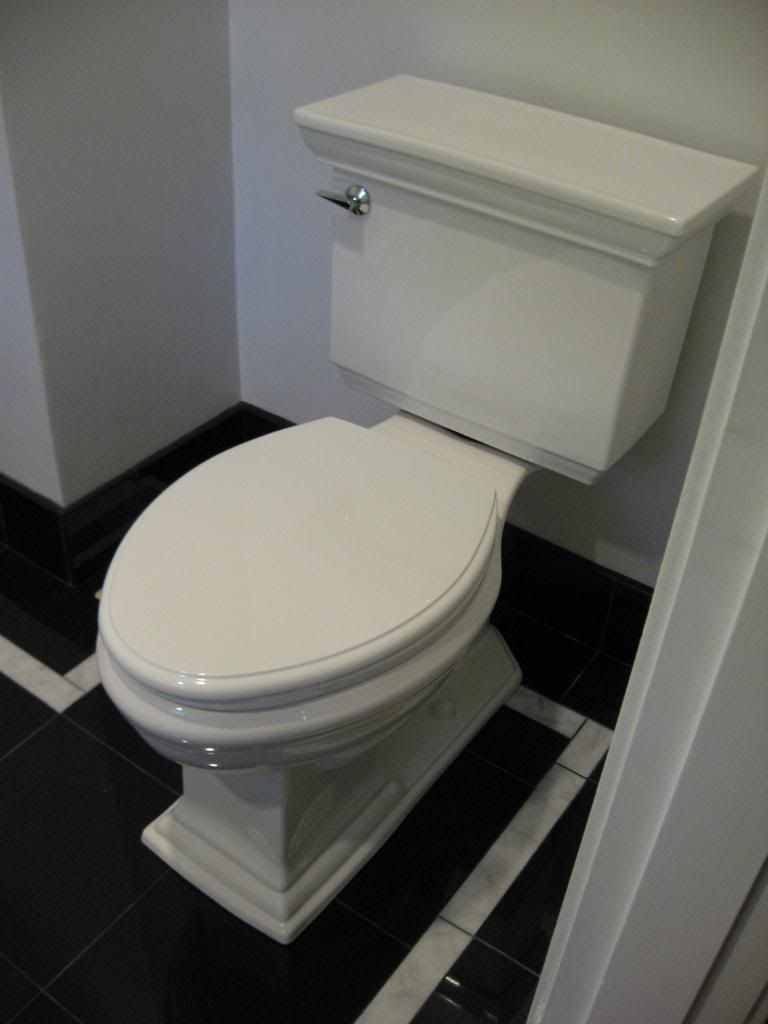
The toilet has been installed,


but unfortunately that's all. Last Thursday, the tub guy said he ran into a problem when refinishing our tub. I didn't understand exactly what the problem was, but he said it just wasn't turning out satisfactorily and he wanted to start over. This was a bummer, as it brought everything to a sudden halt, but I urged him to take his time and get it right. It's supposed to be ready by the middle of this week. I hope things go better on the second try and that it turns out as well as we've been envisioning it. We can only hope and wait.

Saturday, October 24, 2009

Floor: After

It took one day to get the granite/marble laid, and the contractors came back the next day to set the base"board" and grout everything. We're pleased with how it turned out, and, if it wasn't before, it's very clear now that this bathroom will indeed be quite different from anything else we've done so far (even though the toilet will be the same and the sink will be very similar to the ones we put in the hall bath).


Now we can hardly wait to start installing all the actual bathroom stuff, most of which has been waiting in boxes in the bedroom for awhile. The toilet will go in soon, but I want to wait until the tub is in place before installing the sink; carrying that tub in there and getting it positioned right (without chipping or scratching the floor) will be quite a chore, and having the sink in the way would make it all the worse. The tub should be finished and returned to us by the end of next week, so if all goes smoothly I expect to have everything installed by next weekend. Also, we ordered a couple square feet of black and white marble mosaic to go right above the sink as a backsplash. Hopefully that will be in by next weekend as well.

I believe the end is in sight.

Thursday, October 22, 2009

Floor: Before

The focus now shifts from walls to the floor, about which nothing has heretofore been blogged. Months ago, we saw a picture of a bathroom with a black (or very nearly black) floor and thought it looked very cool. Since "very cool" is kind of what we had in mind for our bathroom, we set our minds on replicating the feel of the bathroom in that picture, especially regarding the floor.

We first thought we might use black marble (with some streaks of white running through it), which is certainly very cool, but turned out to be more expensive than we were comfortable with, even for a bathroom the size of a large closet. So we looked into some black granite tiles, which looked nearly as cool and cost considerably less, and decided to go with that. The floor will be black granite with a two-inch-wide strip of white marble around the room about six inches away from the wall. There will also be a six-inch-high granite "baseboard" all the way around.

I had been prepared to lay this floor myself just as I'd done in the hall bathroom last year, but I was told that granite is much more difficult to work with than ceramic or porcelain tile. For one thing, granite is much harder and my wet saw just wouldn't cut it. Also, the granite tiles would be butted against one another instead of spaced apart like most other tile, greatly magnifying any height variations between tiles resulting from imperfect setting.

So, we decided to have granite tile-setting experts do the job. In fact, they're in there toiling away as I type. We're jittery with anticipation, but the "before" pictures are all I can offer for now:


Tuesday, October 20, 2009

Paint and Lighting

Jessica spent a large chunk of yesterday (and part of last night) painting. Thus, the walls are all but finished. When we were picking out wall paint a couple weeks ago, I was reminded again that the most difficult and stressful part of home improvement projects, by far, is agonizing over paint color. This bathroom renovation was no exception, but we're both (!) very happy with the color we ended up with, and that's greatly comforting.

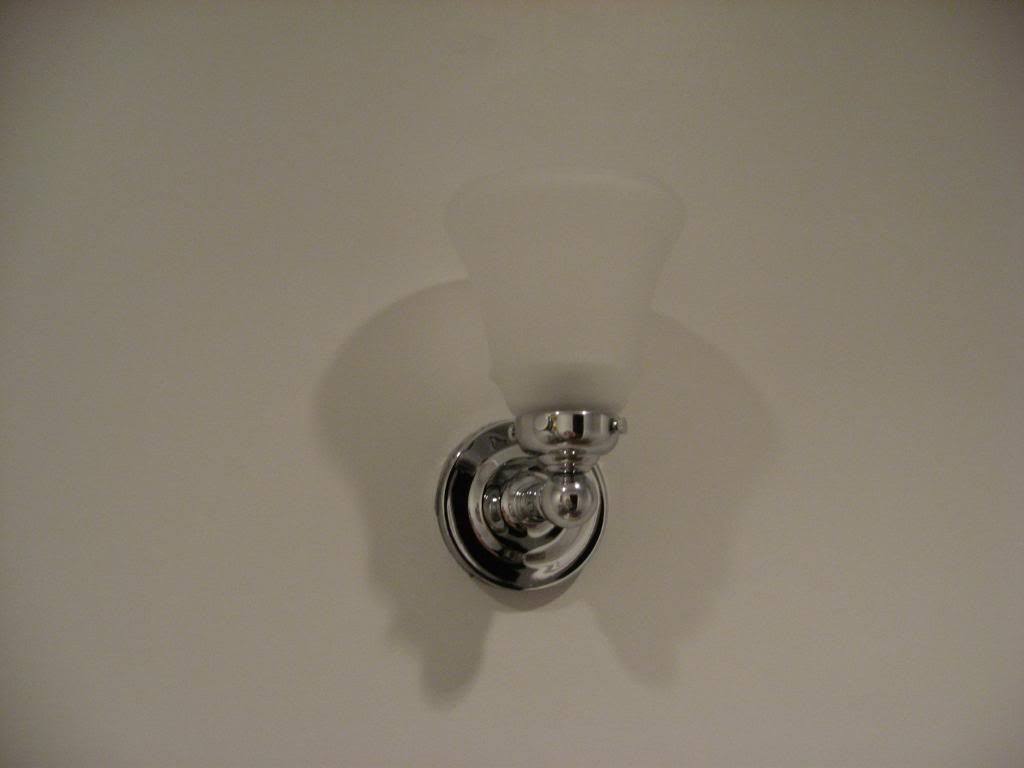
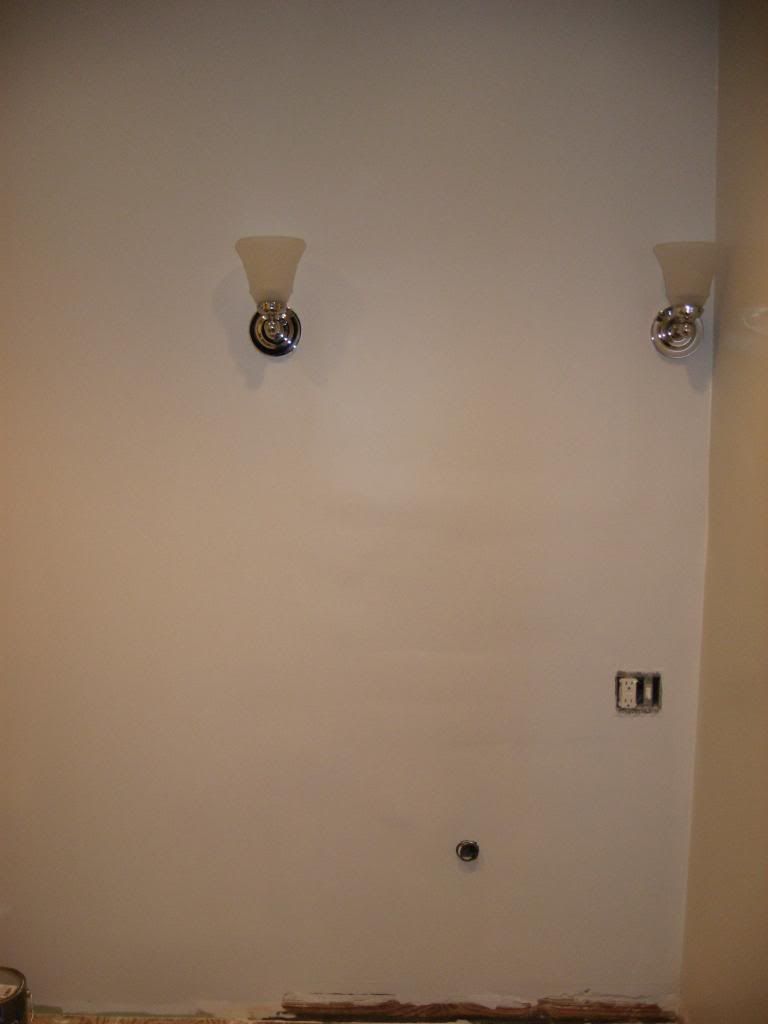
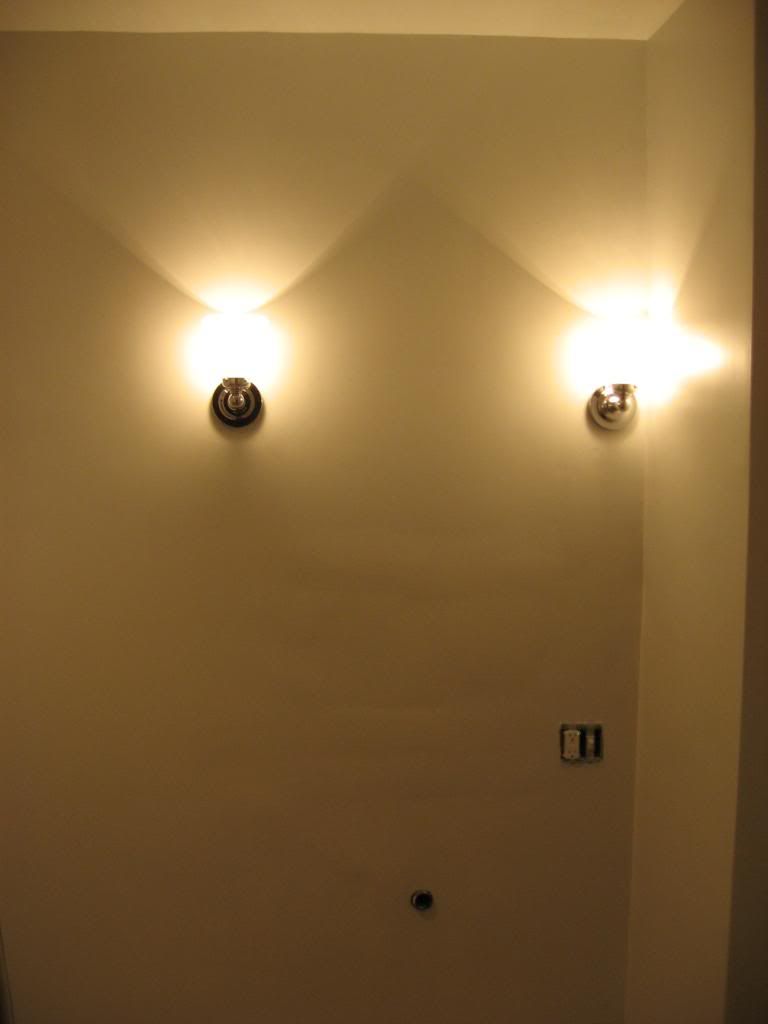
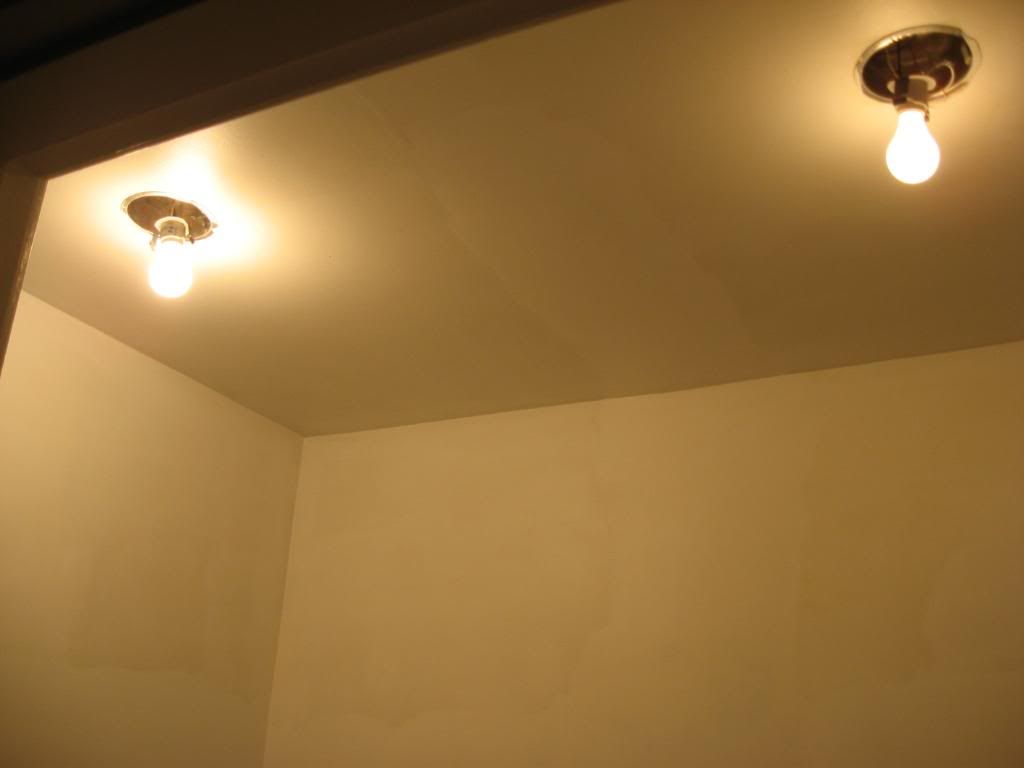
There were also advancements in the realm of lighting. With the ceiling painted, Jessica installed the can light trims and I bought the appropriate bulbs on the way home from work, so they're now finished. We agreed that the can lights were the best choice. Good call, Jess! With the wall painted, the sconces could be installed. This was a job well-suited to my level of electrical expertise, and it got done without sparks, deaths, or other drama. We're both pleased with these as well. Three for three so far!

As promised, here are several thousand words worth of pictures:


Monday, October 19, 2009

"Blank Canvas"

We're almost up to date now. Yesterday afternoon, I took a damp sponge to the ceiling and walls to clean off all dirt and dust in preparation for priming/painting. Last night, Jessica put a coat of primer on the ceiling, a coat of primer on the walls and windowsill/frame, then went back to the ceiling with some paint: Behr's ubiquitous "Polar Bear" (what I call "white") color. This left us with a blog post title.


Jessica is a skilled, motivated painter and is on fall break this week, so the walls will be taking on color very soon. This color, approximately:

Sherwin Williams' "Snowfall"

More pictures coming soon. Oh, the suspense!

Lighting

Originally, the idea was to have wall sconces flanking the mirror and two matching (or at least complementing) pendant lights located roughly where the two old ceiling light fixtures were. It proved difficult to find pendants that fit our taste and our budget, so Jessica called an audible and decided that (recessed) "can" lights would be a better way to go.

It cost an arm and most of a leg to have electricians install five can lights in the kitchen last year; I tackled the bathroom installation myself. It certainly wasn't a trivial job (The tight attic space above the fixture close to the window was extremely restrictive and claustrophobia-inducing.), but it helped that I was able to use existing wiring, and I was done in an afternoon.


Obviously, they're not shown completely finished. Jessica recently installed the trims, and forthcoming pictures will reveal the finished product.

Follow-Up: Floor Register

A month ago, I whined about the floor register being right in the middle of the floor. I pondered getting an HVAC contractor to reposition it, but I first explored the possibility of doing it myself and it turned out to be a relatively easy job. I wanted to move it directly to the right, towards the toilet, and--what good fortune!--the duct ran right under the line along which I'd be moving it, which also happened to be parallel with the floor joists. So I had only to remove the 90-degree elbow that lead straight up to the register, cut off about four feet of the duct, then reattach the elbow piece and (after giving it a 90-degree rotation so it'd line up with the hole I had cut between the wall and where the toilet will be) the piece leading to the register. After using some duct tape on an actual duct for the first time in my life, I was done:


It was one of the rare jobs where everything just seemed to work out.

Walls Finished

(I'm way behind. A lot of blog-worthy stuff has happened since the last post, and I'm going to catch up with a series of incremental updates instead of mashing everything into one huge post.)

I finished mudding and sanding the walls last week. This involved finishing up some patching and prep work where the sink and mirror/cabinet were:


The tall rectangular "hole" is one that I had cut when I was intent on running the water lines for the sink up into the wall. Annoyingly, this turned out not to be feasible, so I was left with more drywall to do. I screwed two small lengths of 2x4 to the nearby stud to support the new piece of sheetrock. The larger piece of 2x4 above is for the pedestal sink top to be anchored to. (Click here for a sneak preview of the sink.)

I had been waiting on patching the hole where the medicine cabinet had been because I thought it would provide helpful access to the places where the wall sconces would be installed. I got around to installing the electrical boxes for the sconces (though with a lack of elegance about which I do not wish to go into detail...what matters is that they're properly positioned and adequately supported, right?), so I finally put in the last piece of drywall:


...And then let loose with the joint compound, nearly emptying the bucket.


After another few days, a little more mud, and lots of sanding, the walls and ceiling were finally ready for painting.

Saturday, September 26, 2009

Hello, Walls

A couple weeks ago, I set forth to turn the cobbled-together hunks of sheetrock into legitimate bathroom walls with a roll of fiberglass mesh tape, a 6-inch taping knife, a 10-inch taping knife, a corner knife (borrowed from Uncle Keith), a huge bucket of joint compound, and a head full of drywall "mudding" tips (also courtesy of Keith).

I was prepared for some seriously patience-taxing work, especially since I'd never done this particular task before (though the tedious nature of it definitely felt familiar). First I taped all the joints with the mesh tape. Next, I used the 6-inch knife to scoop mud out of the bucket and apply it liberally along the joints. Then I went back with the 10-inch knife to spread it out as wide and flat and smooth as I could. After about 24 hours of drying, I attacked it all with sandpaper, wiped the dust off with a damp sponge, and started again. The second time, I applied the joint compound in a much thinner and wider layer. After more drying and more sanding, I evaluated things. Surprisingly, most of it was looking much better than I'd thought it would.


There are certainly some spots here and there that will need at least another coat, but I would say that most of it needs only another light pass with some fine-grit sandpaper before it's done.

(Progress on the ceiling part, small as it is, is lagging behind; the joints were very wide and uneven, so it has taken a lot more work to get it close to acceptable...not to mention that working overhead is about five times more difficult than working at eye level.)

Tub

Some friends of ours recently bought an old house in which the previous owner had left a bunch of old junk. This junk, though, included two old claw-foot bathtubs. They knew we might be interested, and we looked at them and took some measurements. One of them was just the right size for the master bathroom and looked to be in pretty good shape, although it clearly needs refinishing. A few weeks ago, we bought it from them for next to nothing (compared to what we had planned on spending on a new one, at least), and my dad helped us haul it home.


Jessica wanted a preview of what it'd be like once in place, so Dad and I lugged it into the bathroom and situated it roughly where it would ultimately be.


(Yes, there is one foot missing in the two above pictures. It fell off while making the journey from the front porch to the bathroom. Not to worry, though. It didn't break; it just came loose.)

I browsed the phone book and found a guy in town who's been doing bathtub repair and restoration for 35 years, and their cost to refinish a tub like ours was, I thought, pretty reasonable. He came and picked up the tub, and they're holding it for us until we're ready for it. We're supposed to call them about three weeks before we want it back, at which point they'll start working on it, and then deliver it when it's done. He sounded very positive about the quality of the tub, and said he thought it would look very nice when it was finished.

This was an exciting find, especially because of the money we're saving versus buying a new one. Even with the cost of refinishing added in, we'll have acquired this tub at well less than half of what we would have paid for a new one. We're very much looking forward to seeing what it looks like when they're done with it.

Tuesday, August 18, 2009

Master Bath Progress

The pace of work on the master bathroom hasn't exactly been brisk (there have been several large obstacles and distractions), but enough man-hours have been put in since the last blog post to make the progress highly visible and--dare I say?--encouraging.

The shower is completely gone; nary a trace remains. We finished taking out the wall and had an electrician come in to take care of the wire that used to reside in it. He ran the wire through the remaining walls, including newly-added wire that will one day deliver power to a pair of mirror-flanking wall sconces, and he installed a new combination switch/receptacle box near where the sink will be.

Then there was the plumbing to deal with. After getting two different estimates on the plumbing work, I suddenly found myself highly motivated to do a lot of it myself. I was able to get the drain and the old water lines dropped down and capped off below the floor, and just recently started working on getting the water lines for the sink moved into the wall where we'll want them instead of coming up through the floor.

Saturday, I finished putting up sheetrock to patch the "holes" where the shower and wall used to be. There was so much variation in the edges of the existing wall and the new sheetrock that would abut it that it proved as difficult as I'd expected to get the joints even and flush. I was able to do what currently appears to be an acceptable job, but there's still some magic to be worked with my big bucket of joint compound, so I'm still quite nervous about how it'll turn out. We may well end up with a very topographically interesting wall.


I still need to patch the hole where the mirror/medicine cabinet used to be, but I want to wait until after the sconces are installed since it may prove beneficial to have that area exposed during or just prior to installation.

Another major headache can be seen in the fourth quadrant of the first picture. The floor register that used to be right next to the shower wall is now right smack in the middle of the room and needs to be moved. I think I'll be able to cut a new hole when we decide where it should go, but I don't know if I'm up to getting the ducting rerouted to the new location; seems like it could be tricky. I guess we'll see what an estimate from an HVAC contractor looks like, and if it's intolerably high, maybe I'll get another boost of confidence and motivation.

Saturday, July 25, 2009

Exterior: After

The "before" picture of the outside of the house is dreary, yet it's the one constantly displayed at the top of the right margin. So, we've decided to update it with a little comparison shot. And how timely! Jessica has just finished the front porch improvement project that she's wanted to do since the beginning of this whole adventure: replacing the wrought iron "posts" with handsome wooden ones. She had help (and borrowed some crucial tools) from her dad, and they did a fantastic job. Observe:


Mind you, these are not prefabricated posts picked up at Lowe's; they were painstakingly handcrafted ("from scratch"?) and customized, each for its own location. I thought it was a superfluous project and that the wrought iron was completely fine, but the new posts improve the look of the porch (and indeed the whole front of the house) enormously, and I'm very proud of my wife for executing it so well.

Here are some more exterior "after" pictures:


Also, I've updated the "Links" section in the right margin. There are now three separate links to picture pages: Before, During, and After. Enjoy!

Thursday, July 2, 2009

More Emptiness

That title really sounds dark and depressing, but at this point in the bathroom renovation, it's our goal. We've removed significantly more matter from the bathroom, including the vanity and the all of the sheetrock/plaster from the doomed shower wall.


This has opened up the space a lot and gives us a better idea of what it'll feel like with that wall gone (which is, quite nice). The next several weeks of work will undoubtedly be the most challenging. We've got to take out those studs while taking care of the pipes and the wiring (one switch and one receptacle) that used to reside in the wall. We've got to remove the remaining tile from the floor. Then we've got to patch up all the holes that will be left in the floor, wall, and ceiling. I think that will be the most difficult part--patching everything up and making it all look nice and seamless (and, in the case of the floor, preparing a flat, level, and sturdy surface for laying tile). This will be the phase in the project when we're most likely to say to ourselves, 'We've made a huge mistake.' I'm praying it doesn't come to that.

Monday, June 8, 2009

More Deconstruction

I came home from work last Friday and was surprised to find even more work done in the bathroom. Jessica had removed nearly all the tile on the last wall of the shower (the trickiest part, given the presence of pipes and wire inside that wall), and had taken out the medicine cabinet/mirror/light thing above the sink, as well as some small, unidentified wall-mounted accessory under the mirror. Observe:


Jessica seems intent on actually making this renovation proceed smoothly (which is highly uncharacteristic of our house projects); she's obliterating all roadblocks that would hinder progress and, worryingly, is swiftly chipping away at my mental list of excuses to put off laying tile. Perhaps this is how projects are supposed to go when you're not doing 17 other things at the same time, like we were at this time last year...

Friday, June 5, 2009

Shower Demolition

We have begun with removal of the 50-year-old pink shower tile. I got things started earlier this week with a hammer and cold chisel, but Jessica has made the most progress, while I've been at work, by swinging away (like she would, I imagine, a softball bat) with a small sledgehammer.

It's all too evident the shower/bunker was constructed in the mid 50's, when global nuclear war was expected to commence at any moment; the tile was set very solidly in a bed of concrete about eight meters thick (using metric makes the exaggeration sound even more intimidating, no?), underlying which was a sturdy metal mesh which gave the concrete further resilience. Jessica, undaunted, donned gloves, glasses, and a dust mask and brought down two "walls" worth of tile with her mighty hammer.


What you see remaining are the bits of concrete that remain clinging to the metal mesh, which we'll hopefully be able to rip out in big sections once all the tile's taken care of.

After the tile's gone, we'll be pondering the removal of the little section of wall. We presume it's there purely to form the third side of the shower and that taking it out won't cause any problems, but we'd really like to be 100% certain before we start yanking studs out. Does anyone know how we might tell for sure?

Monday, June 1, 2009

Home Improvement '09

Our second summer here has just begun (at least according to the school calendar, which holds far more power over our lives than the sun and moon, orbits and equinoxes and whatnot), and the accompanying list of house tasks is already lengthening.

First, an update...
Since the last post, there has been some significant activity in the realm of landscaping, and not much more. Jessica planted some flowers in the small bed in front of the porch and put some hanging baskets above it. On Memorial Day, we drove to Sale Creek to adopt some baby plants from Keith and Kathy. They very generously gave us some young oak leaf hydrangeas and some dogwood saplings, all of which Jessica planted and is trying to nurse to health (after their traumatic transplantation). Thanks, K&K!


Most significantly, we spent a large chunk of last Saturday digging weeds out of the front/side flower bed and spreading mulch. It was tough work, but we had help from Jessica's brother Sam, and it makes the front of the house look much better.


A lot of work, to be sure, but it's small potatoes, I tell you...for it's during this summer that the feared and shameful master bathroom will undergo its long-awaited overhaul. Currently, it looks like this...


...ripe for renovation. Over the past year, we've gone round and round about what to do with this tiny bathroom, and I've been dreading it all along. We've come to this: instead of trying to enlarge and re-tile the shower, we're going to obliterate it and put in a tub. More specifically, we plan to bust out all the shower tile, take out the little interior shower wall, patch it all up, tile the floor, and put in a claw-foot tub. We'll also replace the vanity/sink (and get rid of that medicine cabinet/mirror), toilet, and all the light fixtures. And, of course, we'll paint.

It's a little on the radical side (is that possible?), and that's kinda the idea. I wanted this bathroom to be a little more edgy and modern-looking than the hall bathroom, and we'll be seeking out tile, paint, and fixtures that will make it happen. It's going to be crazy, what with that little wall being demolished and such, but the adventure should be right on par with much of the rest of what we've done to the house so far. If our experience from 2008 serves us well, I think it will turn out nicely. I started tile removal yesterday, and Jessica plans to continue that today.

You can now expect blog updates to appear at an increased rate. :-)